> ## Documentation Index
> Fetch the complete documentation index at: https://docs.fairground.fi/llms.txt
> Use this file to discover all available pages before exploring further.
# Onboarding
> Get set up to trade on Fairground
You need two things to trade: a wallet and collateral on Arbitrum.
## 1. Join via the Waitlist
You can join the waitlist on the trading app here: [Join Waitlist](https://fairground.fi/421614/rewards).
Connect a wallet or create social login as described in the next step and you'll see the waitlist pane appear.
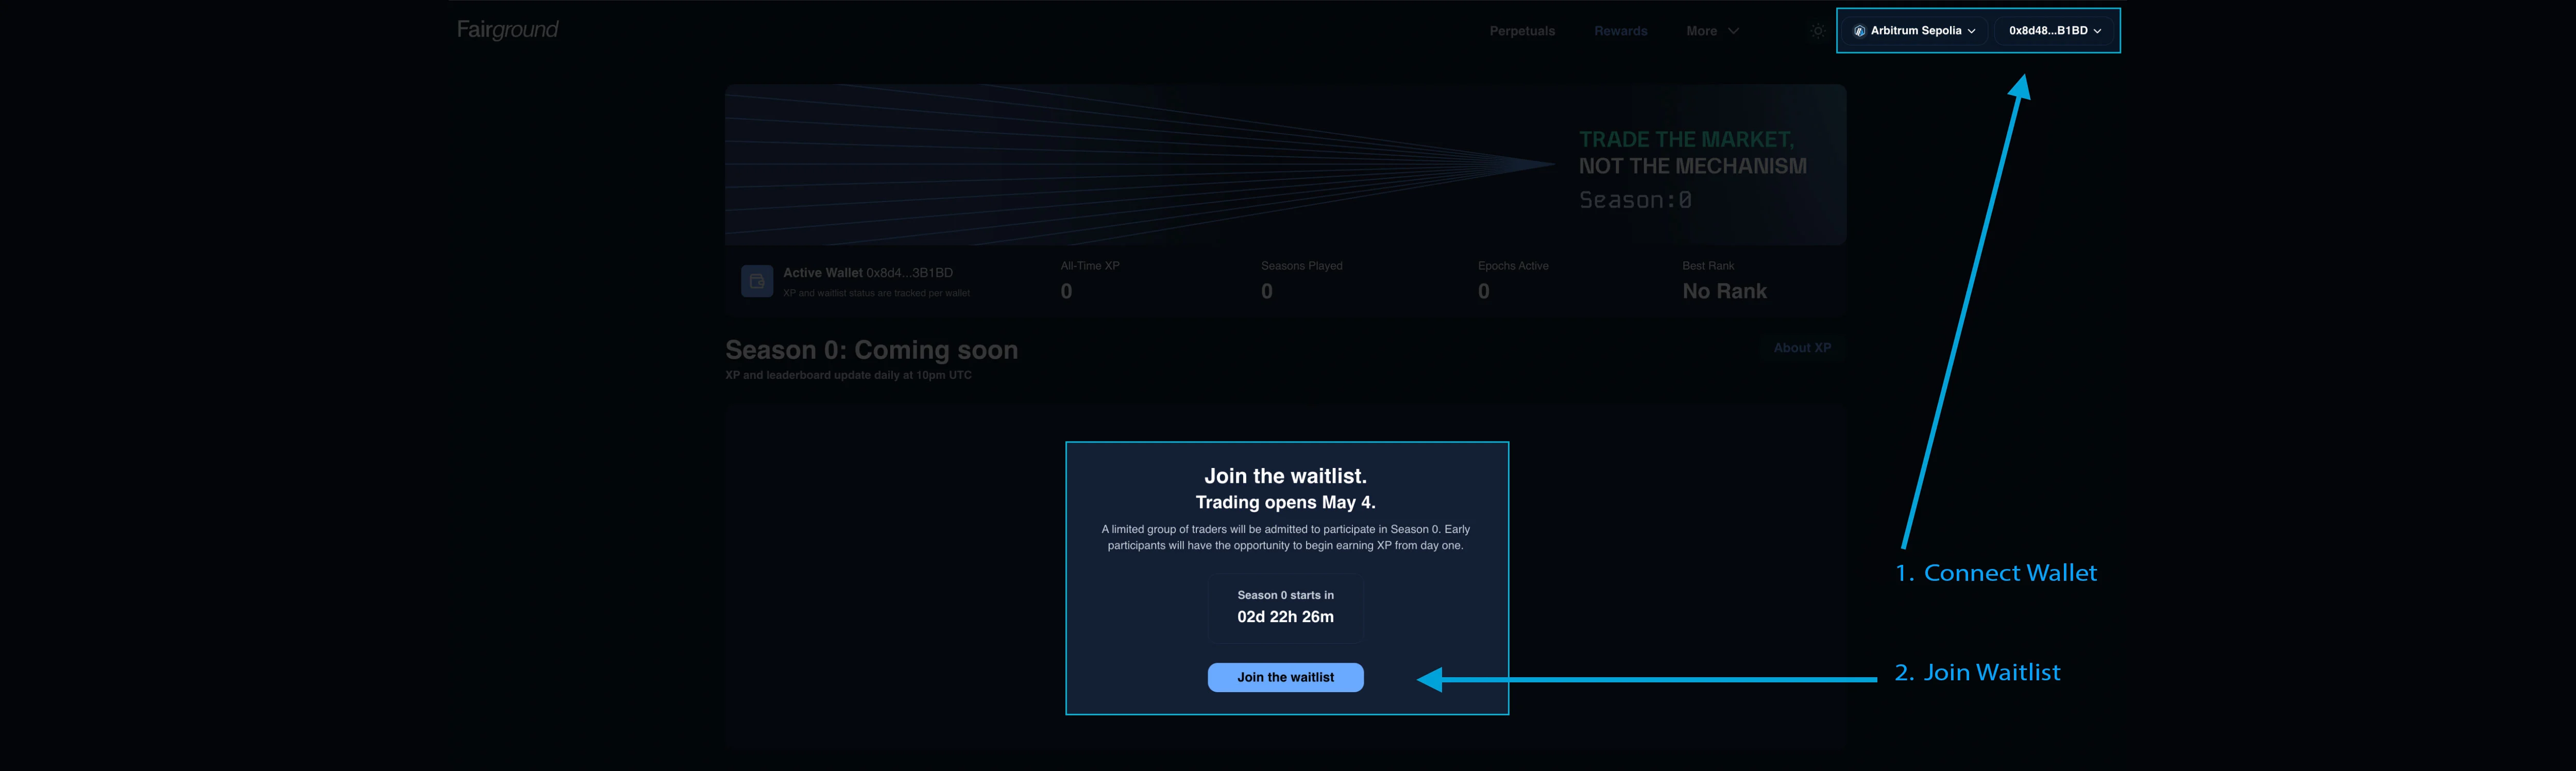 ## 2. Connect a wallet
**Option A: Use an existing wallet**
Connect any EVM-compatible wallet (MetaMask, Rabby, WalletConnect, Coinbase Wallet, etc.).
**Option B: Create one with social login**
Sign up with your email, Google, X, Telegram, or Discord. A wallet is created for you automatically.
You can find the public address of this wallet by expanding the wallet dropdown and clicking the `copy` icon within the Privy (Embedded) pane.
## 3. Receiving ETH and Test USDC on Arbitrum Sepolia
Upon being granted access from the waitlist your wallet will receive enough testnet ETH to pay gas fees and test USDC to be used as collateral for opening positions on the app.
Your wallet will be granted additional test USDC at the beginning of each epoch during the season.
The address of the test USDC token used for this season is: [`0x398e42BbfDD77b928c24B4D640B2B203664508D9`](https://sepolia.arbiscan.io/token/0x398e42BbfDD77b928c24B4D640B2B203664508D9)
***
## Notes for users bringing their own wallet
If you're using your own wallet, you'll probably need to add the Arbitrum Sepolia network to it. The easiest way to do this is to navigate to [https://sepolia.arbiscan.io/](https://sepolia.arbiscan.io/) and scroll down to the footer menu. You'll see a button to Add Arbitrum Sepolia Network. Click that and it should open the pane in your wallet to add the custom network.
## 2. Connect a wallet
**Option A: Use an existing wallet**
Connect any EVM-compatible wallet (MetaMask, Rabby, WalletConnect, Coinbase Wallet, etc.).
**Option B: Create one with social login**
Sign up with your email, Google, X, Telegram, or Discord. A wallet is created for you automatically.
You can find the public address of this wallet by expanding the wallet dropdown and clicking the `copy` icon within the Privy (Embedded) pane.
## 3. Receiving ETH and Test USDC on Arbitrum Sepolia
Upon being granted access from the waitlist your wallet will receive enough testnet ETH to pay gas fees and test USDC to be used as collateral for opening positions on the app.
Your wallet will be granted additional test USDC at the beginning of each epoch during the season.
The address of the test USDC token used for this season is: [`0x398e42BbfDD77b928c24B4D640B2B203664508D9`](https://sepolia.arbiscan.io/token/0x398e42BbfDD77b928c24B4D640B2B203664508D9)
***
## Notes for users bringing their own wallet
If you're using your own wallet, you'll probably need to add the Arbitrum Sepolia network to it. The easiest way to do this is to navigate to [https://sepolia.arbiscan.io/](https://sepolia.arbiscan.io/) and scroll down to the footer menu. You'll see a button to Add Arbitrum Sepolia Network. Click that and it should open the pane in your wallet to add the custom network.
 If you need to manually add the network, you can use the following information:
| Info | Value |
| :----------------- | :------------------------------------------------------------------------------- |
| Network Name | Arbitrum Sepolia |
| Default RPC URL | [https://sepolia-rollup.arbitrum.io/rpc](https://sepolia-rollup.arbitrum.io/rpc) |
| Chain ID | 421614 |
| Currency Symbol | ETH |
| Block Explorer URL | [https://sepolia.arbiscan.io](https://sepolia.arbiscan.io) |
If you need to manually add the network, you can use the following information:
| Info | Value |
| :----------------- | :------------------------------------------------------------------------------- |
| Network Name | Arbitrum Sepolia |
| Default RPC URL | [https://sepolia-rollup.arbitrum.io/rpc](https://sepolia-rollup.arbitrum.io/rpc) |
| Chain ID | 421614 |
| Currency Symbol | ETH |
| Block Explorer URL | [https://sepolia.arbiscan.io](https://sepolia.arbiscan.io) |